Who’s a sucker for real-life weight loss stories? My hand is raised!
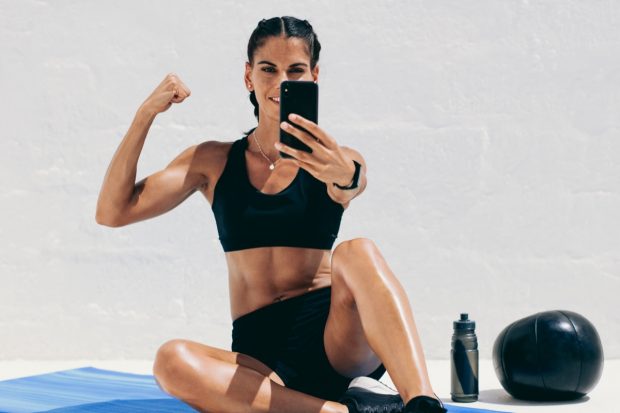
From reading backstories to pouring over the struggles and triumphs people face over the course of their journey, I simply love reading about how their lives change after getting fit and reaching their goals.
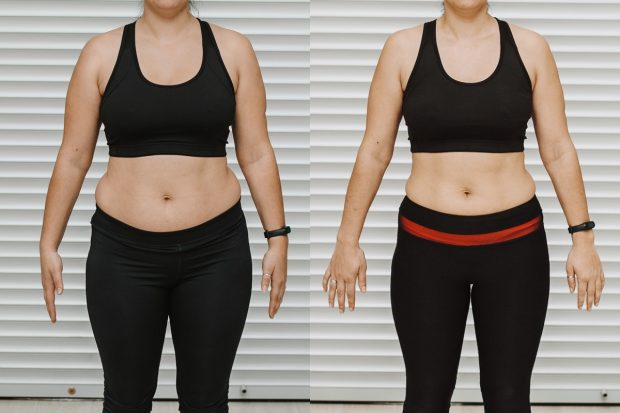
But what’s the first thing I look for? The before and after photo. Pictures are the most powerful visual marker to demonstrate a complete body transformation. And the best way to visualize a physical transformation is by taking before and after photos.
Here are 7 pro tips on taking quality before and after photos to help you easily track your fitness journey. Mastering these helpful tips will keep you motivated to reach your goals. Let’s dig in.
#1 Use the Same Background
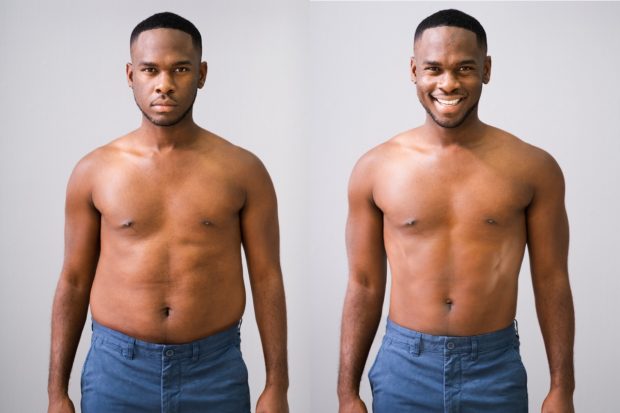
Find a default location and use that same spot every time you set up your shot. Opt for a light-colored background with plenty of natural light. Indoor lighting is notorious for distorting shadows and making photos look grainy, so try to find a space that lets in those natural rays. And make sure your background is plain and not too busy. The only thing that should be busy is you—with all those workouts you’ve been doing!
#2 Wear the Same Clothing Each Time
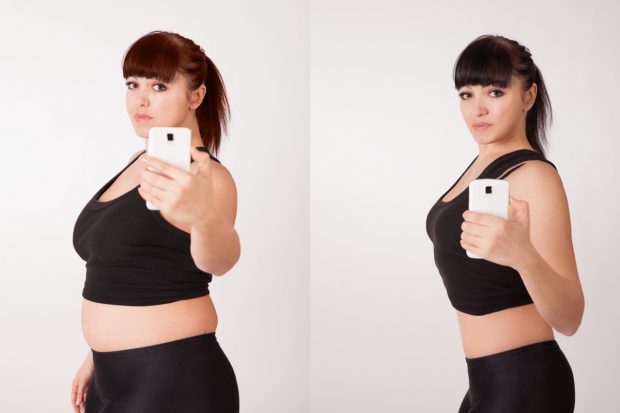
We all love clothes and most of us have plenty of items to choose from in our closets. But on the days you’re shooting progress photos, wardrobe variety isn’t an option. Something as simple as wearing a different color can skew the results and distract you from the real gains you’ve made.
For best results, ALWAYS wear the same outfit. Swimwear or undergarments are the optimal choices since they show every contour of your body. If you’re uncomfortable showing too much skin, snug-fitting activewear is your second best option.
Bottom line: show as much skin as possible, but go with a level of coverage you’re comfortable with. Keep in mind that your stomach should be visible since it’s a great indicator of weight loss.
#3 Take Photos at the Same Time of Day
Do you have a morning ritual? Whether it’s checking your phone, brushing your teeth or making breakfast, you most likely have a few morning routines you stick to.
One of them might be weighing yourself right when you wake up. And it makes perfect sense. It’s a lot easier to track your progress by stepping on the scale in the morning since you don’t have to factor in all those calories you’ve digested throughout the day.
Wouldn’t it also make sense to schedule your progress photos in the morning? Not only will it allow you to compare your progress at the same time of day, but it will also help you develop a routine you can stick to.
#4 Choose Your Method
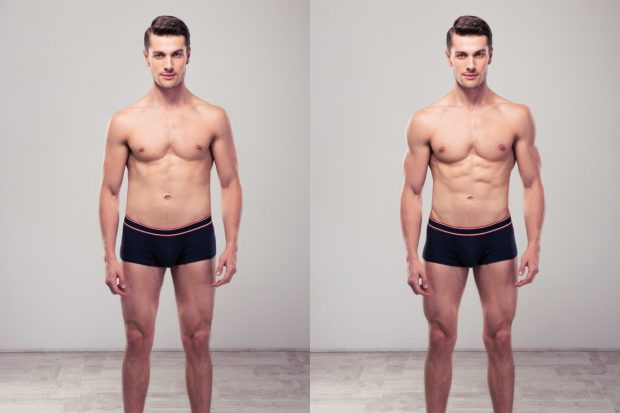
Are you taking a selfie? Will you use a full-length mirror? Is your friend taking pictures of you? Or maybe you’ll prop your phone up on your desk and set up a time delay?
Whatever method you choose, make sure it stays consistent. Remember where you stood in relation to the camera and don’t forget where you placed your phone for the shot.
If it helps, place tape on the floor to mark where you stood or use visual markers to take note of camera placement. If your photos aren’t consistent, it makes it extremely hard to compare the two pictures properly. Visual markers can help you replicate the same photos over and over.
The bottom line: set up your shot the same way every time. No matter how many progress photos you take, make sure you replicate the same conditions each time. The only difference in the shot? You!
#5 Capture Different Angles
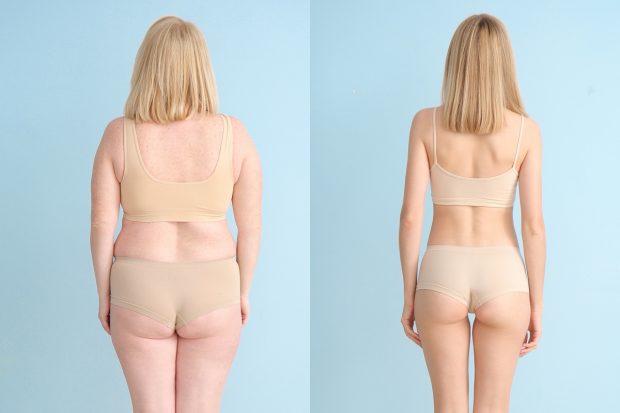
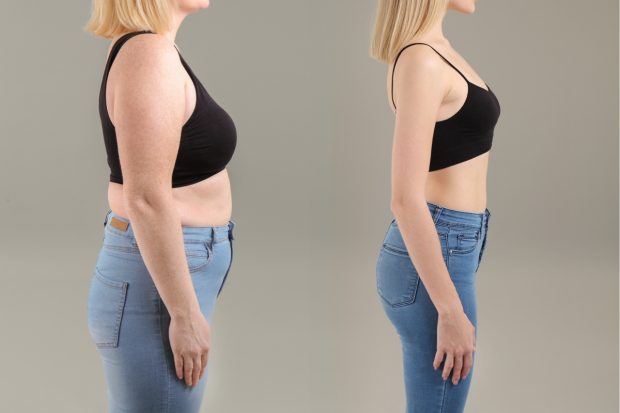
Take one photo from the front, one from each side and one from the back. In the beginning, you may see little change. But over time, you’ll be amazed at how one angle shows completely different results than another.
Bodies are different, unique and very individual. There’s no definitive answer to where you’ll lose the most body fat. It could be your thighs, it might be your hips or it could even be your waistline. But guess what? Capturing different angles will uncover the truth and allow you to spot progress more easily.
#6 Compare Your ‘Then’ and ‘Now’ Pics
Once you’ve accrued a month’s worth of photos, you can start to compare images and see how much you’ve progressed. Place your photos side-by-side and bask in how far you’ve come! There’s no better motivation than seeing how your body’s transforming.
#7 Do It on the Reg
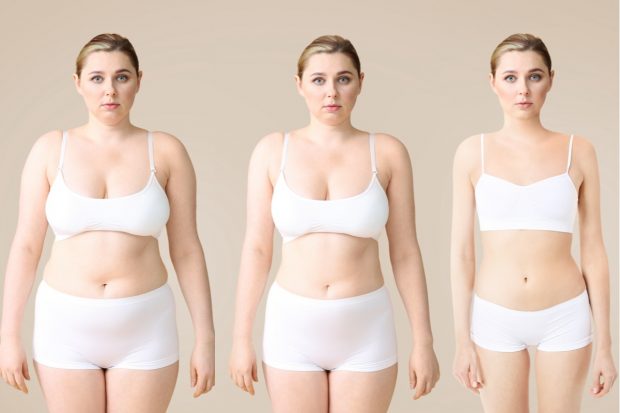
Most people only focus on before and after pictures, but it’s the shots in between that will keep you motivated to reach your weight loss goals. Besides, there should never be an “after” photo.
Getting fit and feeling happy should be a life-long pursuit, so keep taking periodic photos to keep you on track. To keep it consistent, set up a weekly or monthly reminder to snap those photos at regular intervals.
Never Give Up
Don’t get discouraged if you don’t see results as quickly as you would like. It can take anywhere from 4 to 12 weeks to see noticeable changes in your body. Work out consistently, keep making healthy choices and stick with these techniques to build up a really inspiring set of progress photos to keep you visually motivated.
Need some inspiration? Check out our inspiring list of success stories here.
Don’t know where to start? Gymondo can help. Stay on track to reach your weight loss goals with 25+ inspiring fitness programs, 250+ motivating workouts and 1000+ low-calorie recipes. Start your free trial today!


 (average: 3.33 out of 5)
Kommentar schreiben